Our office will be closed New Years Day
SHIPPING - All products ship within the same or next business day unless noted. NORMAL Shipping takes between 2-5 days, Freight 1-2 weeks. Need a freight quote on large items? Click Here.
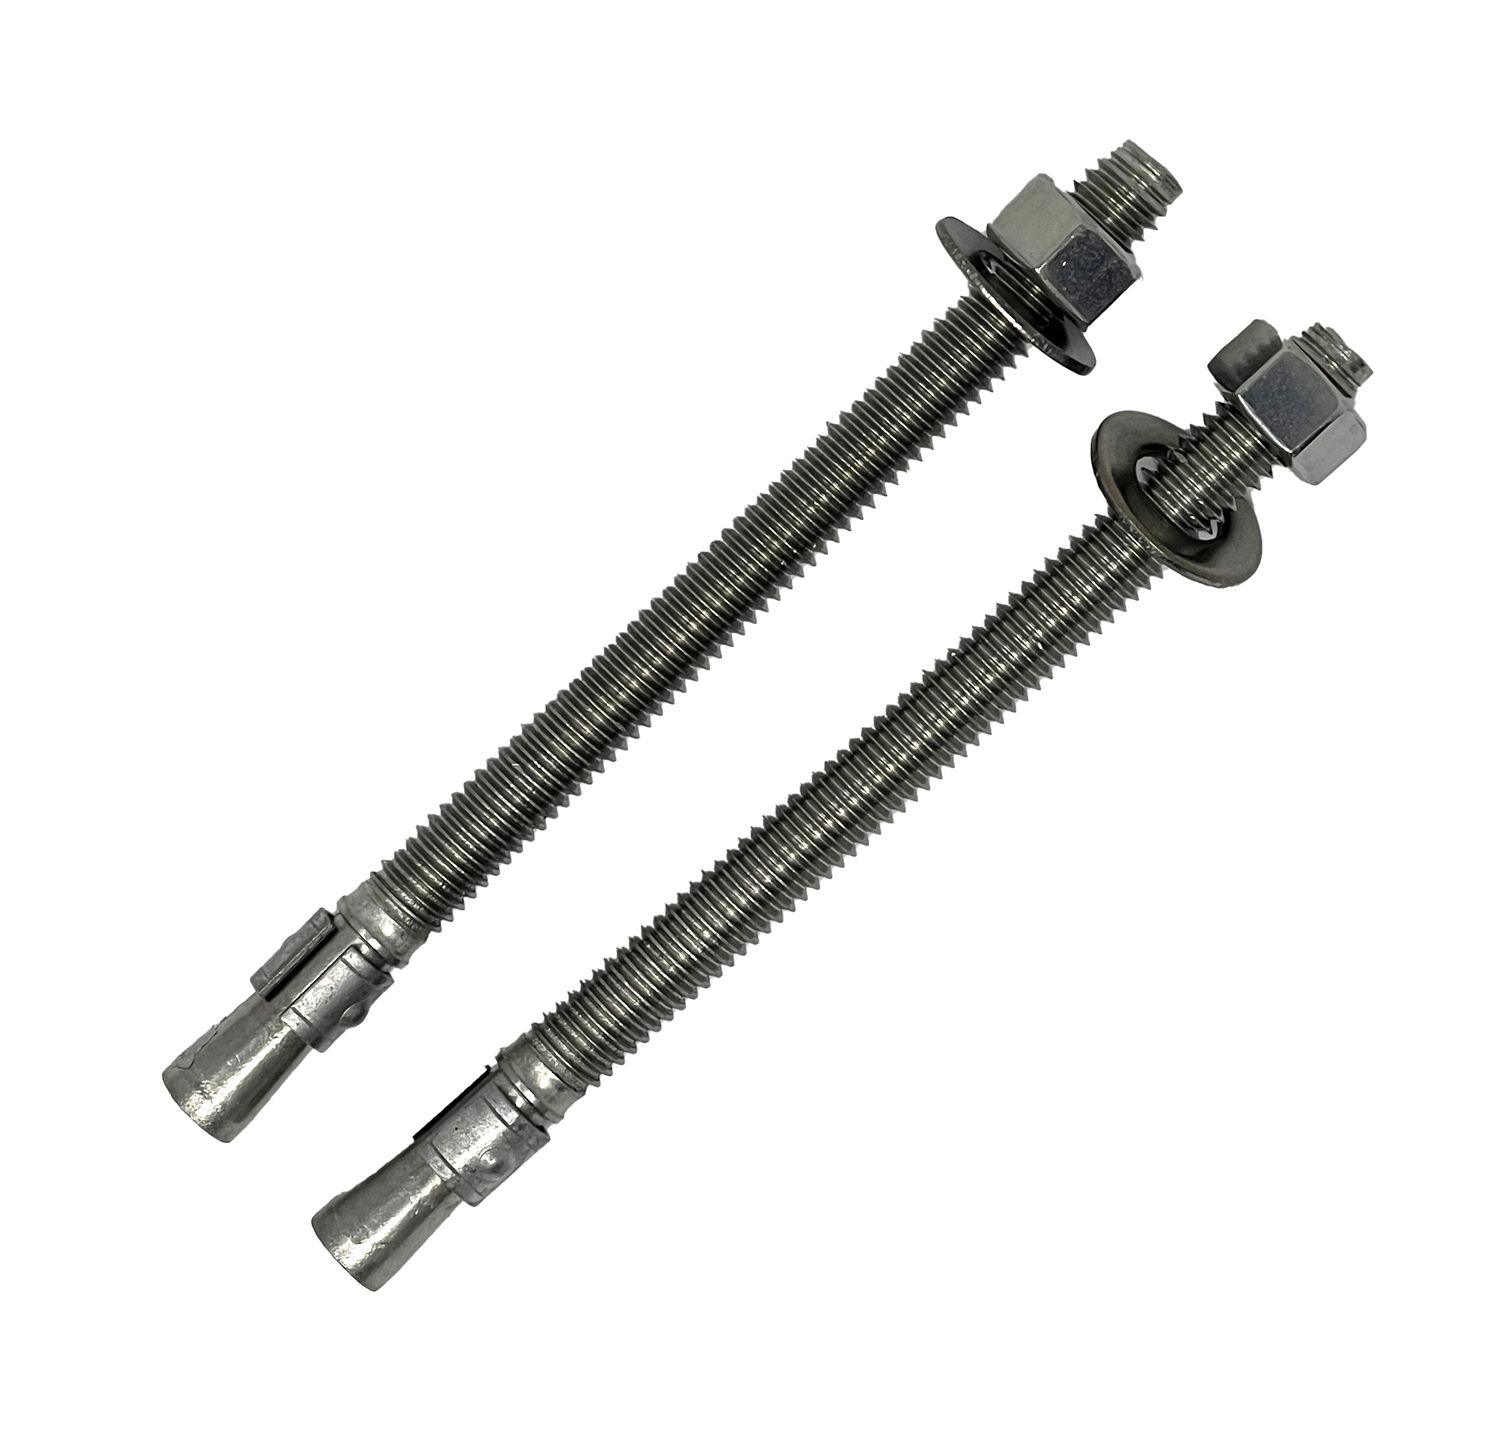
Ritchie Anchor Bolts #16555 (2 per package)
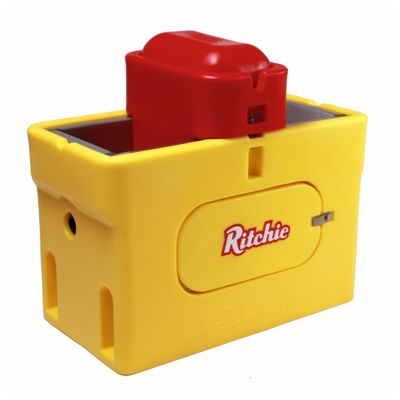
Secure your Ritchie automatic waterer to your concrete pad using our stainless steel anchor bolts. Two bolts are included in each package, 2 packages minimum required for each waterer.
- 3/8" x 5" - recommended size for Ritchie Waterers
- Two anchor bolts per package (most waterers require a minimum of 4 bolts total)
- Stainless Steel for long life
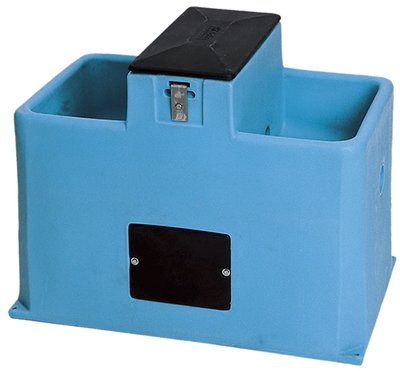
- Can be used with the EcoFount Family, OmniFount Family, Thrifty King Series, WaterMatic Family and WaterMaster family
- Each unit requires a minimum of two Anchor Bolt Packages
INSTALLATION INSTRUCTIONS
Installation 3/8” Stainless Steel Wedge Anchor Bolts Ritchie Part No.: 16555
ANCHOR BOLT PACKAGE 3/8 X 5” STAINLESS STEEL (2/PKG) 14261 ANCHOR BOLT PACKAGE 3/8 X 3 1/2" STAINLESS STEEL (2/PKG)
1. Drill hole into the concrete using a carbide tipped bit. Bit size = 3/8” (same as anchor diameter) Drill the hole through the concrete or at least 1/2" deeper than the length of the anchor.
2. Clean out the hole using a wire brush, compressed air, vacuum, blow out bulb or other method.
3. Put the nut and washer onto the wedge anchor and make sure that the nut is on the last threads (this will protect the threads from damage when the wedge anchor is hammered into the hole in the concrete).
4. Insert the wedge anchor through the base hole and into the hole in the concrete pad. This should be a very tight fit- use a hammer to complete the installation until the nut and washer are tight against the base.
5. Turn the nut clockwise, until finger tight.
6. Using a wrench, turn the nut 3-4 times until snug. Do not over tighten or damage may occur to base of unit.
